It out with
Installation
Installation from which you downloaded the above, to download, please run.
Need to set something special, but I do not think, let me explain briefly.
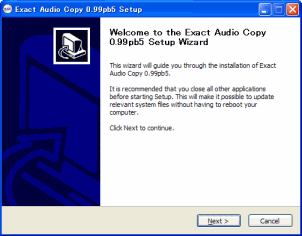
Eac-xxxx.exe let you download and run the installation.
(xxxx: Version information)
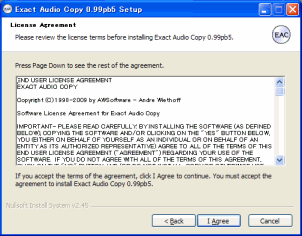
The license terms.
I agree to proceed with.
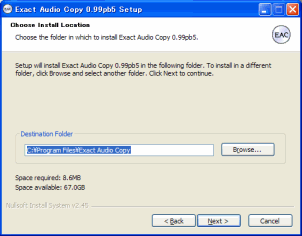
Specify the installation directory.
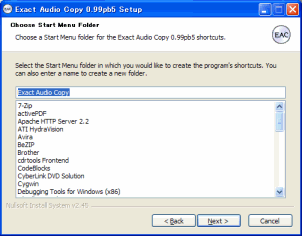
Specify the name of the startup menu.
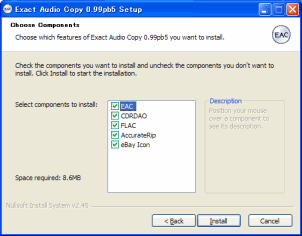
Select the items you want to install.
"eBay icon" is, I think most people need.
If necessary, remove the check.
"Install" click to start the installation.
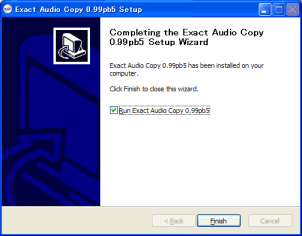
When you see this screen is complete.
Here, "Run Exact Audio Copy" and uncheck the Finish button.
Japanese continue to install the patch.
Here, the site uses the latest version obtained from the original translation.
- ZIP file you downloaded (eac095b4j01.zip) to extract the appropriate directory.
- Unzipped files in the "Japanese.txt" a, Exact Audio Copy to copy the directory to the directory where you installed the language.
Cases)
C: \ Program Files \ Exact Audio Copy \ Languages to "Japanese.txt" Copy.
- Once, Exact Audio Copy and then try to run.
In most cases, this should be OK.
If you start it, if not the Japanese,
"EAC"
→ "EAC Option"
→ "General"
Tab → "Use Language"
In
Please try to select the Japanese.
Also, if small or garbled characters, you need to change the font.
In that case, included fontchg.exe the Exact Audio Copy to copy please run installation.
Setting
The first task, once the installation is complete, the following is a preference.
Exact Audio Copy is the first startup to start the setup wizard.
(See screen below)

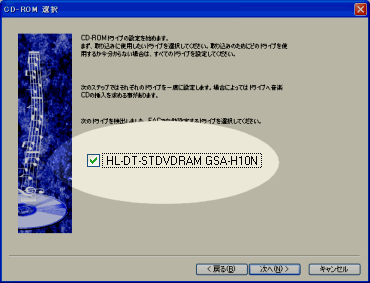
Here, all CD / DVD drive appears.
Usually, the drive is listed, check all.
Exact Audio Copy, and if you do not use the drive, the drive, remove the check.
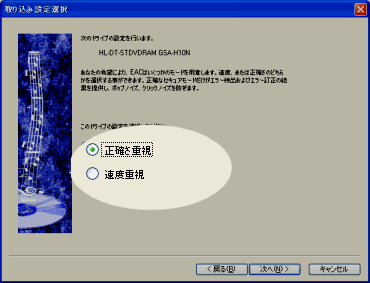
Here are the settings for each drive.
Usually, the "emphasis on accuracy," Choose.
"Speed-" does little noise is allowed just read, is written.
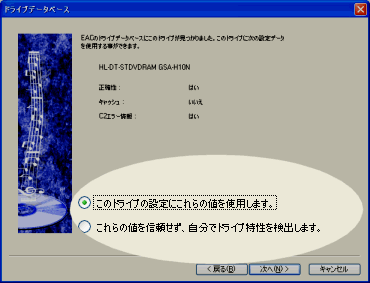
Here is a check before setting each drive.
If there is no problem with the information set, "to use these values to set this drive.
"Choose.
The dish, if you want to set yourself manual, "do not trust these values, his drive to discover the characteristics of" select.
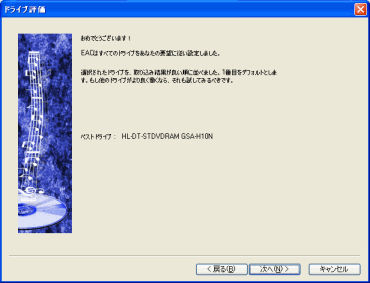
After setup is complete, this screen is displayed.
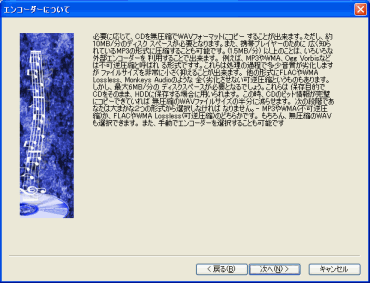
Here is the set of compression techniques.
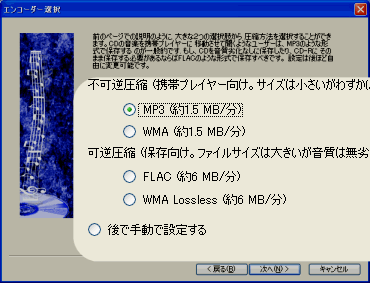
Select the compression method used by default.
This information can also be modified later.
Here, MP3 Let's choose.
If you choose MP3, LAME tools required separately.
From where to download the above, to obtain, make sure to extract the appropriate directory.
(Installation is to extract only)
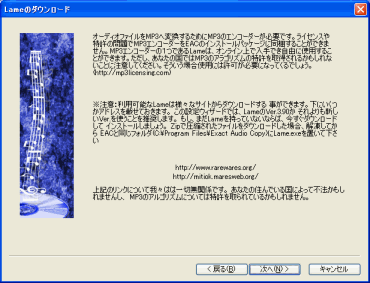
This screen, LAME is a description of the effect that tools are required.
"Next" and click search tools go to LAME.
This search, search the directory, so that all takes time.
Search screen appears, click Cancel, the next screen, your specified directory.
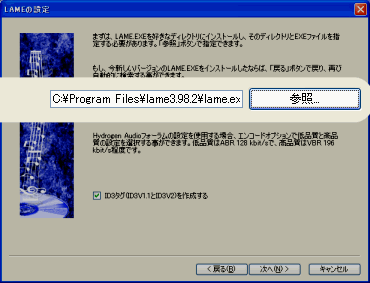
Here, LAME specifies the directory where you unzipped the tool.
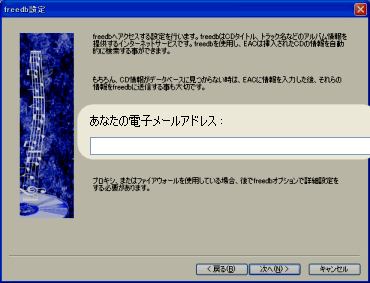
Here, freedb sets for access to e-mail address.
freedb is a site that can automatically get song title and artist name.
If you do not need the artist name and song title information is good here is empty.
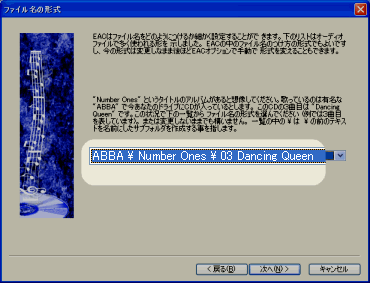
Now, what to do with music CD specify the directory and file name to extract the tracks from.
Here, the directory is as follows: + filename.
Artist name \ Album \ track number + song
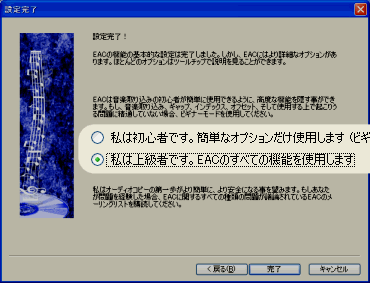
The last step is to specify what features can you get to use.
Usually, "I am advanced.
Use all the features of EAC.
"Choose.
Because they function under the constrained, but not advanced, "I am advanced.
Use all the features of EAC.
"Besides, you must choose.
Use
Finally, we complete the set.
Mobile screen is, I think that is as follows.
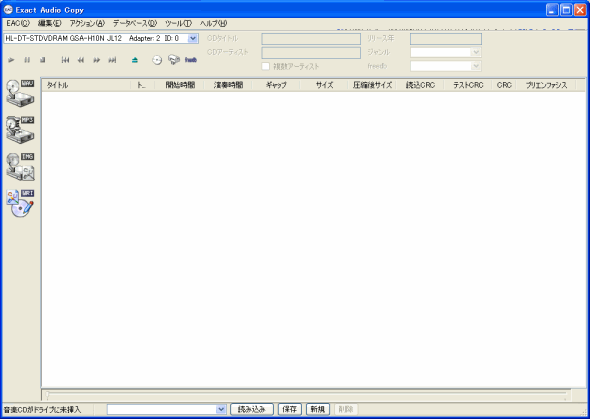
Set your music CD into the drive.
First, the following screen appears.

This screen is the correct information to fix the screen AccurateRip whether to use the site.
※ here, even if you select Yes, and not necessarily give him the check.
There will be worth a try.
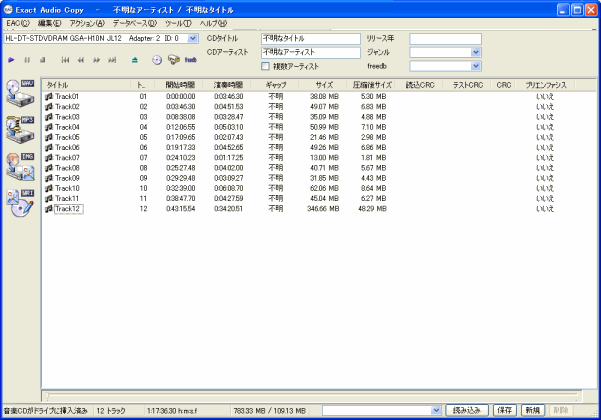
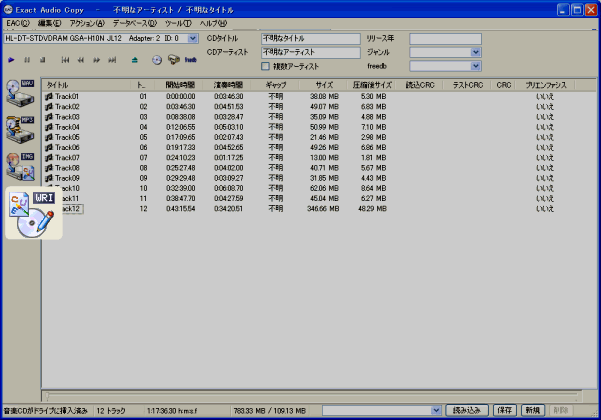
This means the state issued truck.
If, freedb if you set your email address to allow access to this time, song title, artist name is displayed.
Continues, track (song), and let out of the music CD.
In the middle of the screen, you want to extract tracks (songs) Select.
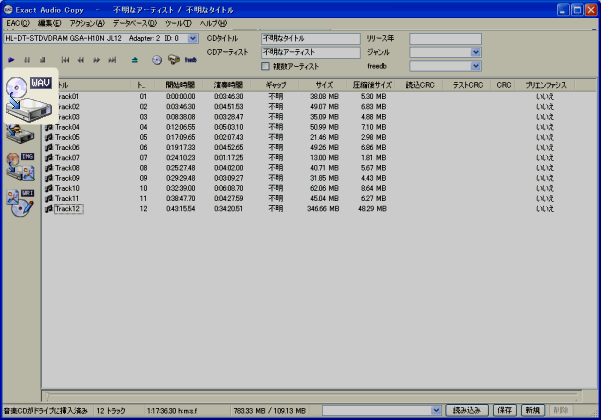
Then click the top left corner WAV.
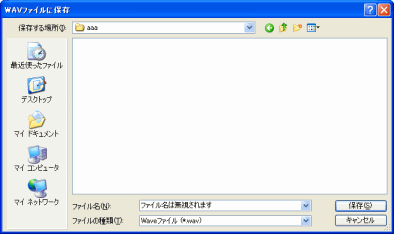
Then specify the output directory.
Specify the start and extraction.
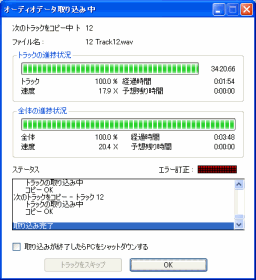
After completion, logging information is displayed.
When the extracted information is displayed in the middle of the screen.
In most cases, 100% will be extracted.
Continues, full of extract (songs), CDR writing to let.
Set the CDR drive.
Then click the button on the left WRI.
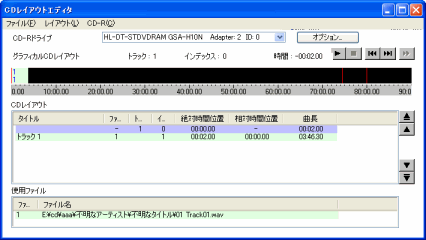
Then, CD layout editor screen is displayed from the track that you want to write on the screen (song) Drop a WAVE file.
Will be added automatically.
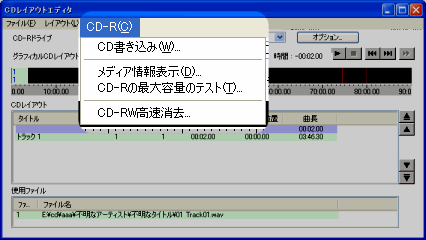
Tracks you want to burn (song) Once all the settings, the last menu, CD-R - CD Click Record.
In most cases, 100% will be extracted.
You're done!
!
※ CDR writing to the relevant article:
Cdrtfe the ISO image file Also introduced in cdrtfe write.
To do is simple.
Convert music from CD to WAVE file, the WAVE file is the task of writing to CDR.
Now, almost without degradation can be written to CDR.
Usually, CD backup if, CDR is included with regular CDR drive, so I have a feature that comes with the writer, and there can be copied without degradation.
However, up on your favorite songs and finals in the CDR, if you want to edit for personal enjoyment, you need to work like this.
Exact Audio Copy is for this species (music CD faithfully WAVE files to extract) is a pioneer in the capabilities.
Therefore, the article also introduces Mikakemasu well on other sites.
This site, which covers only the basic operations, because there are other features also, come, I will use you for a good and helpful to other sites.

Leave a Reply